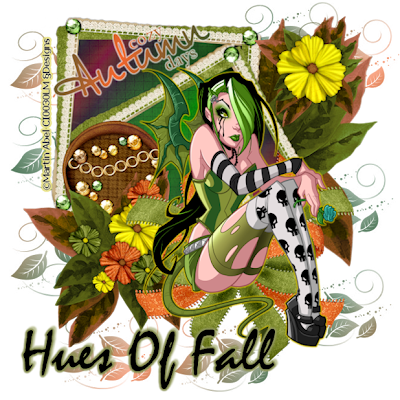
Hues Of Fall
This tutorial was written by Serina on the Oct. 6th 2008. Any similarity to any other tutorials is purely coincidental. Tutorial was written using PSP X2 but should work in any other versions to.
Supplies
Scrapkit "Indian Summer" by Cyrene, its a freebie get it HERE
Tube of your choice, I am using the wonderful artwork of Martin Abel purchased from CILM and used with a license.
Eye Candy 4000 - Gradient Glow HERE
Texture of your choice
Brushes or Wordart of your choice - I used the fabulous brushes of Agi which you can find on her deviantart site pspagi.deviantart.com
♥♥♥♥♥♥♥
Okay here we go ...
Copy/paste the frame to your new canvas, position in top left corner, duplicate frame
Image - Flip --> Image - Free Rotate - Left by 26 Degrees
Select your magic wand tool, highlight first frame layer and click on the white space
Highlight second frame copy, using the shift key and your mouse click in the white space on the second copy frame. This should now add to the first frame selection
Selections - Modify - Expand - 20 pixels
Copy/paste paper of choice as new layer
Image - Resize - 50% Resize all layers UNCHECKED
Selections - invert - hit the delete key once, Selections - select none
Drag this layer below the two frame layers and then Duplicate layer
Highlight the original paper layer
Find your Change to Target Brush icon and click on it.
Set your foreground color to #1e532c and your stroke color to #f46730 (or pick two colors that will work with your kit selection and tube), and then switch your foreground to Gradient. You should now have both your colors in the form of a gradient fill. Click on the foreground color, and make your settings as below, and select a texture of your choice to if you like.
No go back to your paper layer and click a couple of times on it .. play around until you get something you like.
Change the blend mode of this layer to difference.
In your materials pallet where you have the gradient stroke, click on the texture button to remove it, and then go back and just click once or twice on the same layer to give it a tint.
Now to add your tube, copy/paste it to the canvas and position it where you like.
Then add your embelishements. You can use what I did (refer to my tag in header) or you can just go with your own ideas.
Add a new layer and drag it right down to just above the white background layer, and add any brushes you'd like. I used leaves by Agi. Also I used her wordart Cozy Autumn Days.
Add your copywrite info, add your name, right click on the white background layer, delete this layer. Merge visible and save.
Thanks for trying my tut.

No comments:
Post a Comment