
Live Hard Play Hard
This tutorial was written by Serina on the July 7th 2008. Any similarity to any other tutorials is purely coincidental. Tutorial was written using PSP X2 but should work in any other versions to.
Supplies
Plugin Mura's Seamless Checks with Graduation - Google if you don't have it
Scrapkit by Missy of Misfits Scrapz HERE
Tube of your choice, I am using tubes by Elias Chatzoudis purchased from MPT and used with a license.
Font of your choice.
Lets get started
Open a 600 x 600 white canvas
Create a new layer, and floodfill it with Black
Effects - Alf's Power Toys - Color Grid using the following settings or pick a color from your tube and adjust the Red, Green and Blue settings to match it:
Horizontal Divisions - 5, Vertical Divisions - 5, Red - 255, Green - 75, Blue - 150

Go to Effects - Plugins - Mura's Seamless - Checks with Graduation and apply the following settings assuming you're using a tube that has pink, if its a different color then play around with first three Color settings to get the color that matches your tube.
Color R - 255, Color G - 75, Color B - 150, Effect - 255, Ratio - 128, X Number - 3, Y Number - 2, Gradation - 219

Go to Layers - New Mask Layer - From Image.
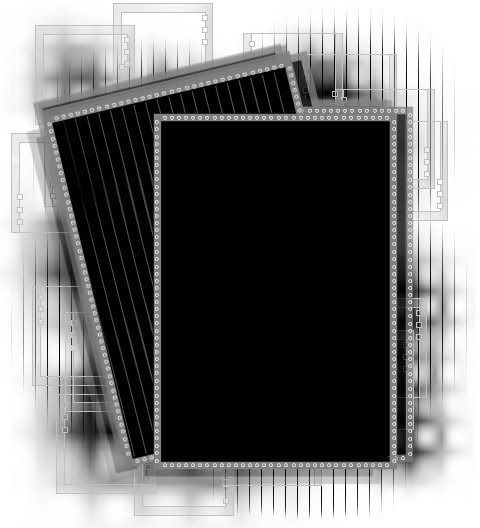
In the dropdown section select your mask, sg_geometric-grungframe1, make sure Source luminance is selected and a checkmark is in the box next to Invert mask data.
Go to your layer palette and right click on the mask-raster layer and delete, say yes to the popup that comes up. Then right click again and Merge Group.
Copy/paste and add your tube, positioning it where you want. Add a drop shadow
Now you get to have a little fun and place your elements and ribbons where-ever you like, just play around till you find a layout you like or you can duplicate mine by referring to the header tag.
If you are using something like the Live Hard Play Hard ticket and you want to put the holes in it, all you have to do is once you've placed the crisscross ribbons, use your selection tool, freehand, and draw a little circle around the metal bits and hit delete on the ticket layer so the wholes are made in there and you don't delete the metal from the ribbon.
All done, just add your copywrite and license information if you're using a licensed tube. Add your name to the side like I did using a font of your own choice. The font I used is Anonymous Clippings and can be found on dafont.com. I added a Lokas 3D Shadow to my text that had a little tinge of pink.
To keep your tag on a transparent background go to the first white layer and delete it in your layer palette. Then merge all the rest of the layers.
Hope you enjoyed the tut and can't wait to see your results.
No comments:
Post a Comment