Supplies
Scrapkit Ladies of the Night by Simone HERE
Tube of choice, I'm using the work of Rion Vernon, which can be purchased through CILM
Mask by Essexgirl called sg_multi-boxes.zip download from HERE
♥♥♥♥♥♥♥
Open your tube of choice and your mask and shrink them down.
New File - 600x600 white canvas
Selections - Select all - copy/paste a paper of choice as new layer. Image - resize - 95%, selections invert, hit delete once on your keyboard, selections - select none.
Layers - New Mask Layer - From Image. Find the sg_multi-boxes in the dropdown list, source luminance and invert mask data checked, hit okay.
Right click on the mask-promoted layer and hit delete, say yes when the popup appears. Right click on the mask layer and merge group.
Copy/paste frame7 to canvas
Using your freehand magic wand tool make your way around the frame right in the middle of all sides.
Copy/paste paper of choice as new layer, image - resize to about 30% - selections Invert - hit delete once on paper layer
Drag paper layer below frame
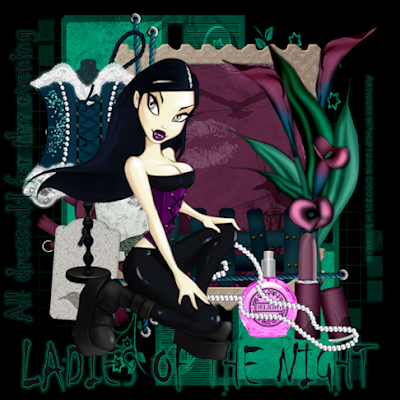
Copy/paste the fence2, resize by 40% drag it below your frame and position it like mine
Copy/paste the maniquin to the left side of the frame and then copy/paste the corsett of your choice and position it so that it looks like its hanging off the maniquin.
Copy/paste tube of your choice and position it where you like.
To add a bit more color to the side I also copy/pasted the Silver Eyelet2 right below it so that its on the maniquin post, and I copy/pasted the Tags and String, and put them below the corsett and maniquin layers so it looks like its wrapped around the string.
Then copy/paste any other elements you like and place them where you think looks good. I used the lipstick and the spray bottle and the beads.
If you'd like to add some text like I did go ahead and add it now. I used a font called Chiller for my text and then applied a gradient glow. If you want the same exact font just type in Font Chiller in google and you'll find loads of places to get it :)
All thats left now is to add your copywrite information, your watermark and license info and any text you like.
Right click on the white background layer, delete it and then merge visible on the rest of the layers.
Hope you enjoyed this tutorial :)
No comments:
Post a Comment